Apple’s AirTag is a useful Bluetooth accessory that lets you know where all of your technology is. If you’ve purchased an AirTag since its first release, you’ll most likely need to replace the battery; here’s how.
The AirTag is an intriguing item in that, unlike almost every other Apple product, it cannot be charged through a Lightning or USB-C cable. Instead, if the AirTag runs out of power, you’ll have to manually replace the battery inside to go back to 100%.
The Find My app will notify you when your AirTag need a new cell, and the battery is a common CR2032 coin cell unit. You may get them in a supermarket, an electrical store, or a hardware store.
Step 1
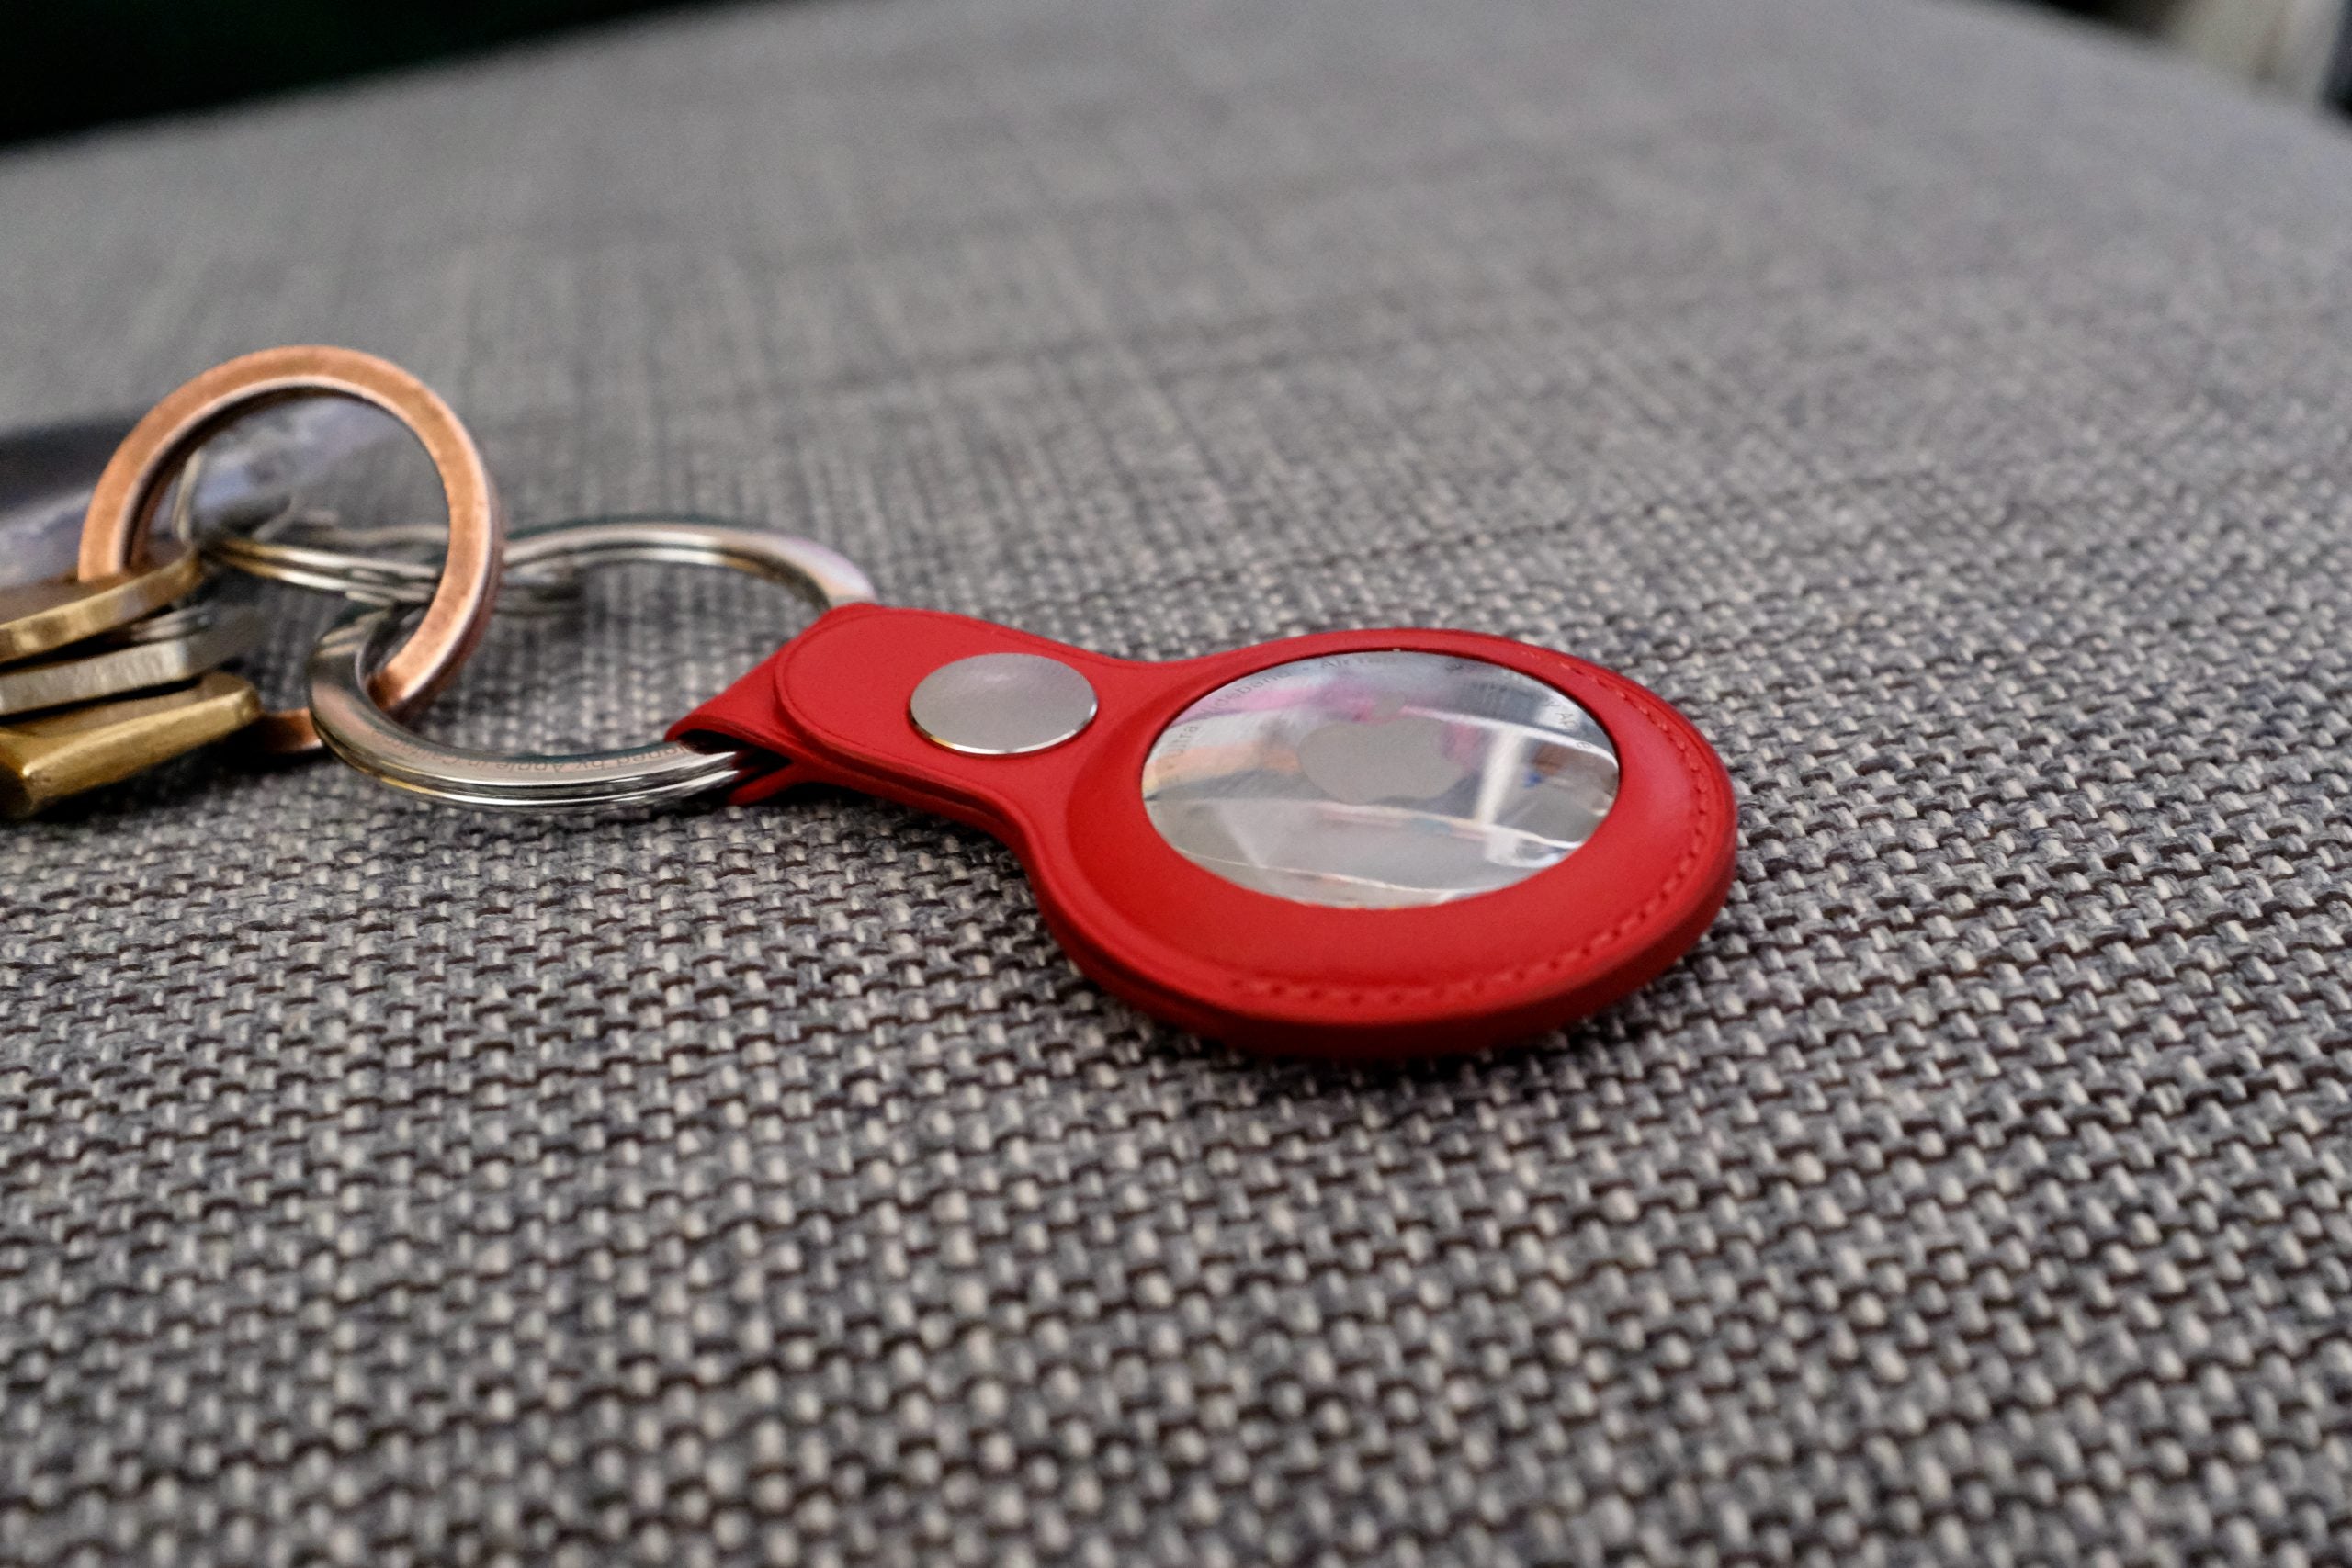
Get your new battery and AirTag ready
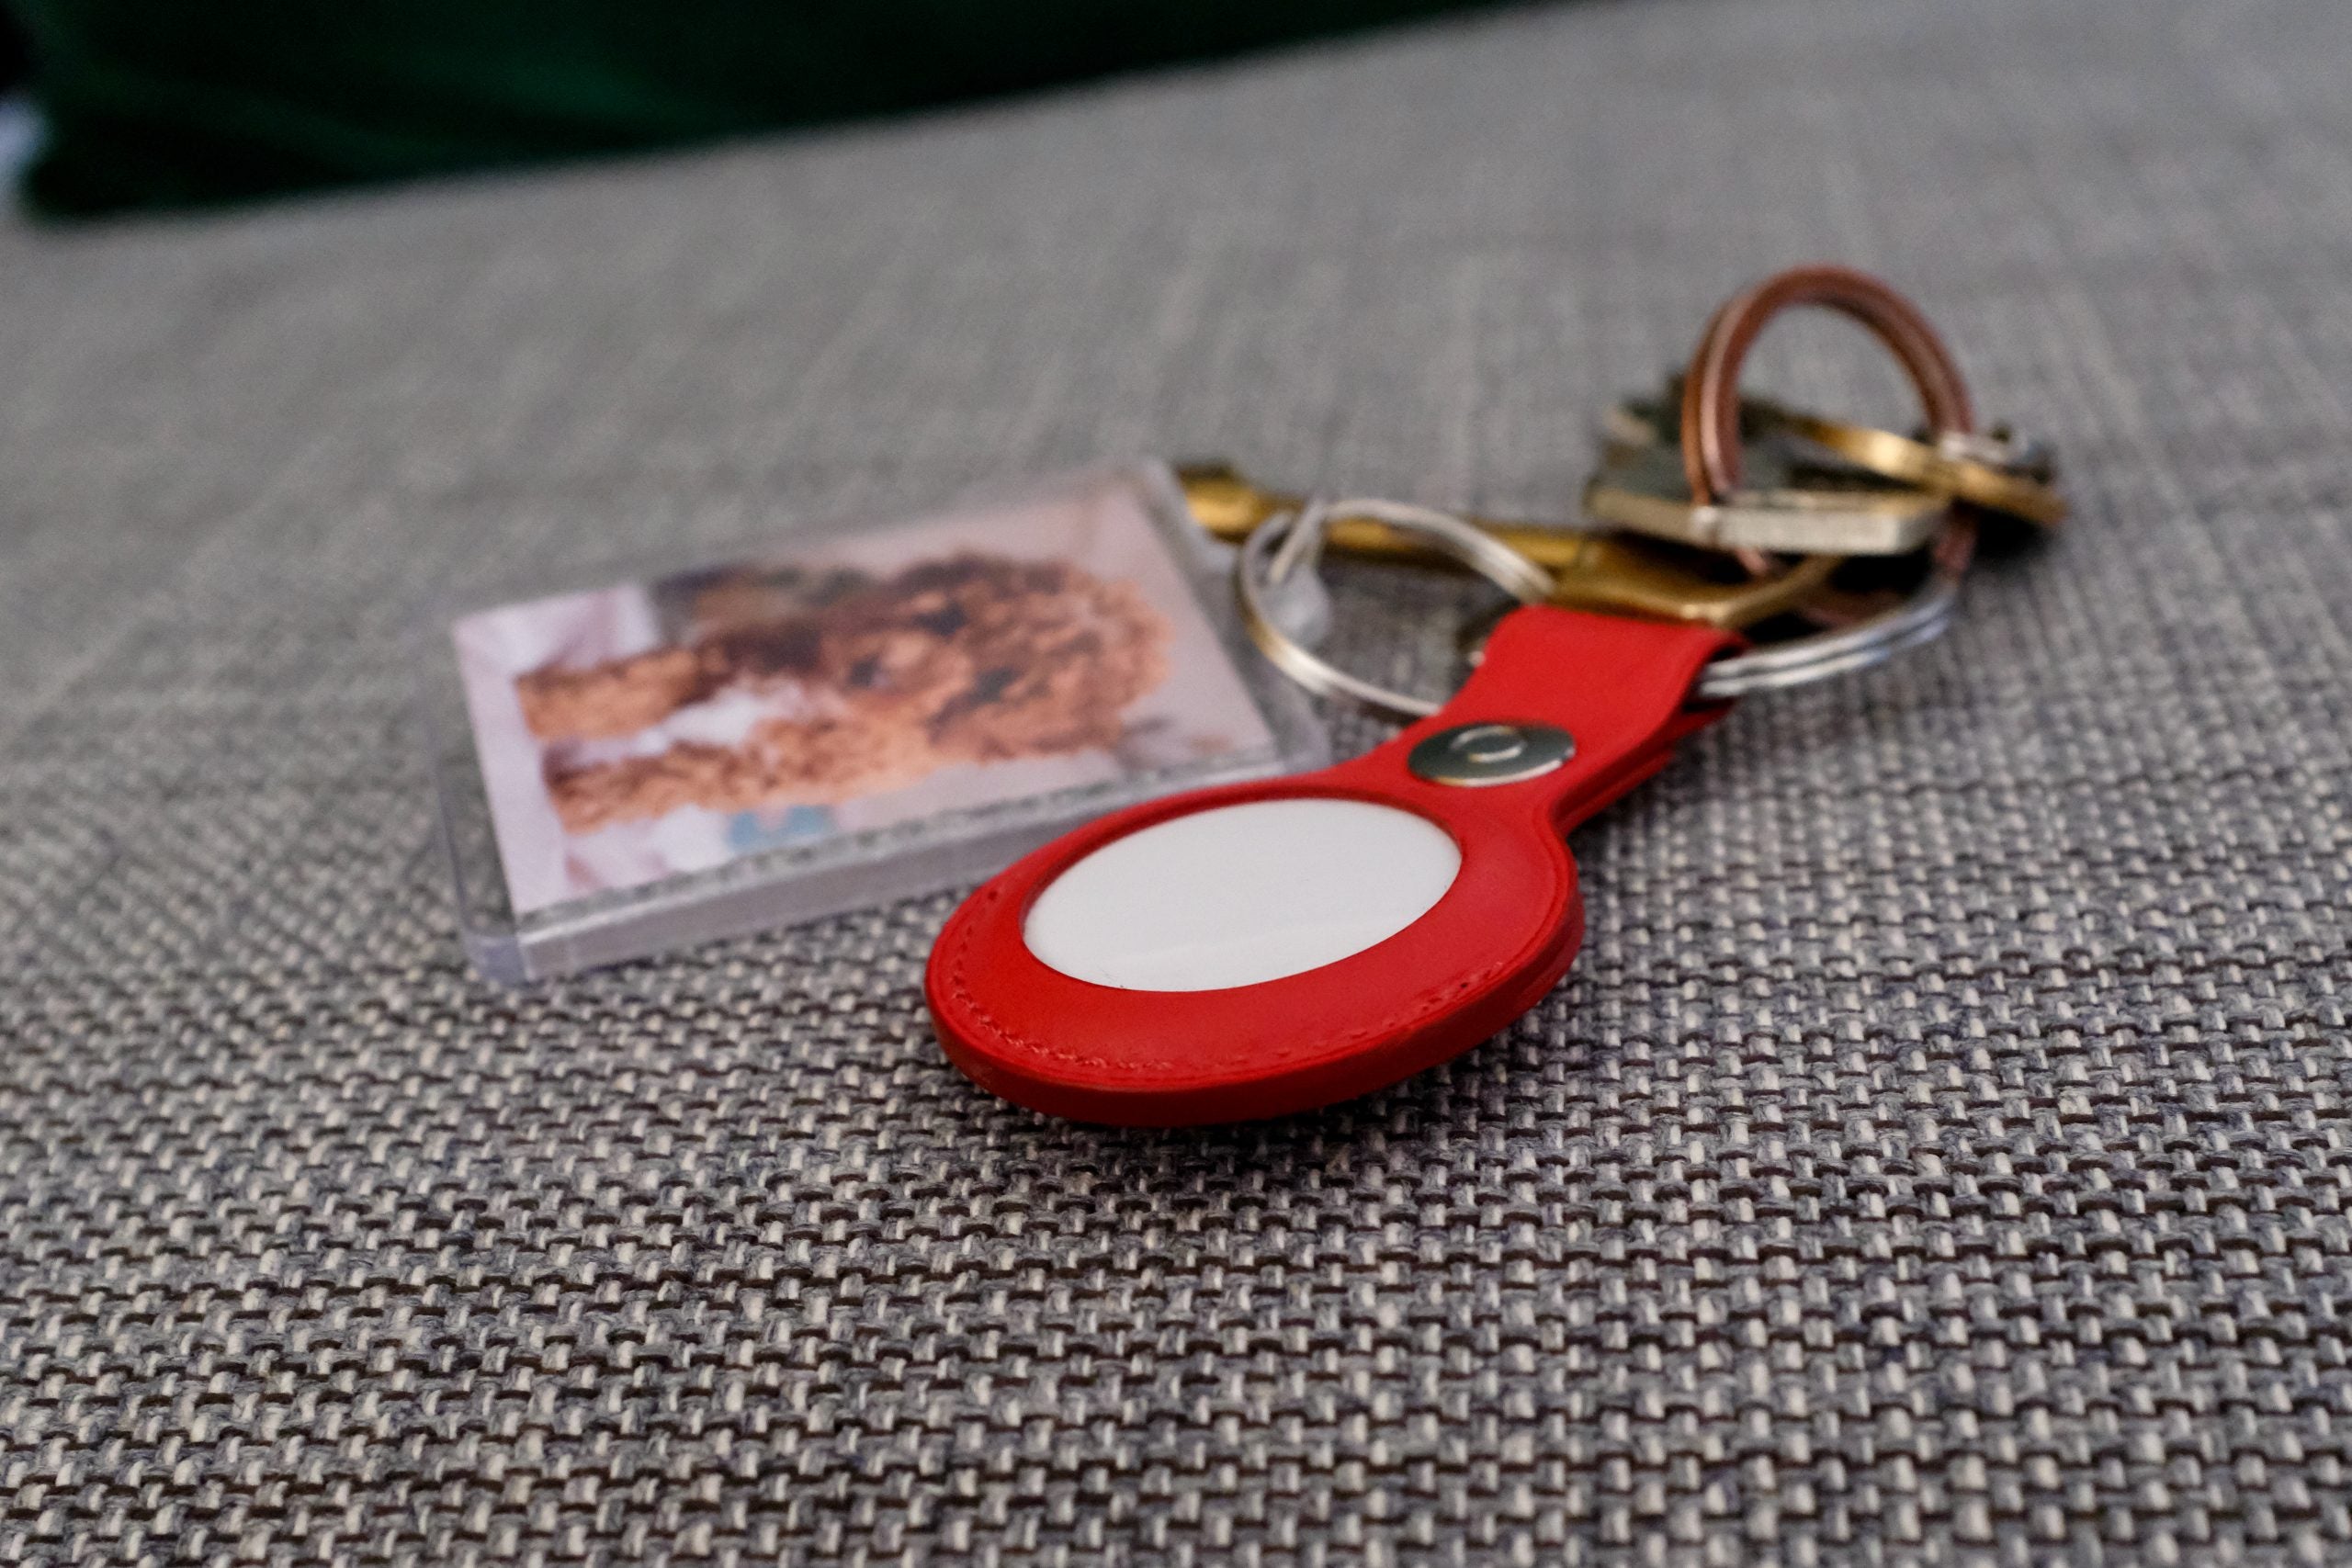
Before we get started, remove your AirTag from any accessories you might have it in and get your new coin cell battery ready.
Step 2
Remove the back
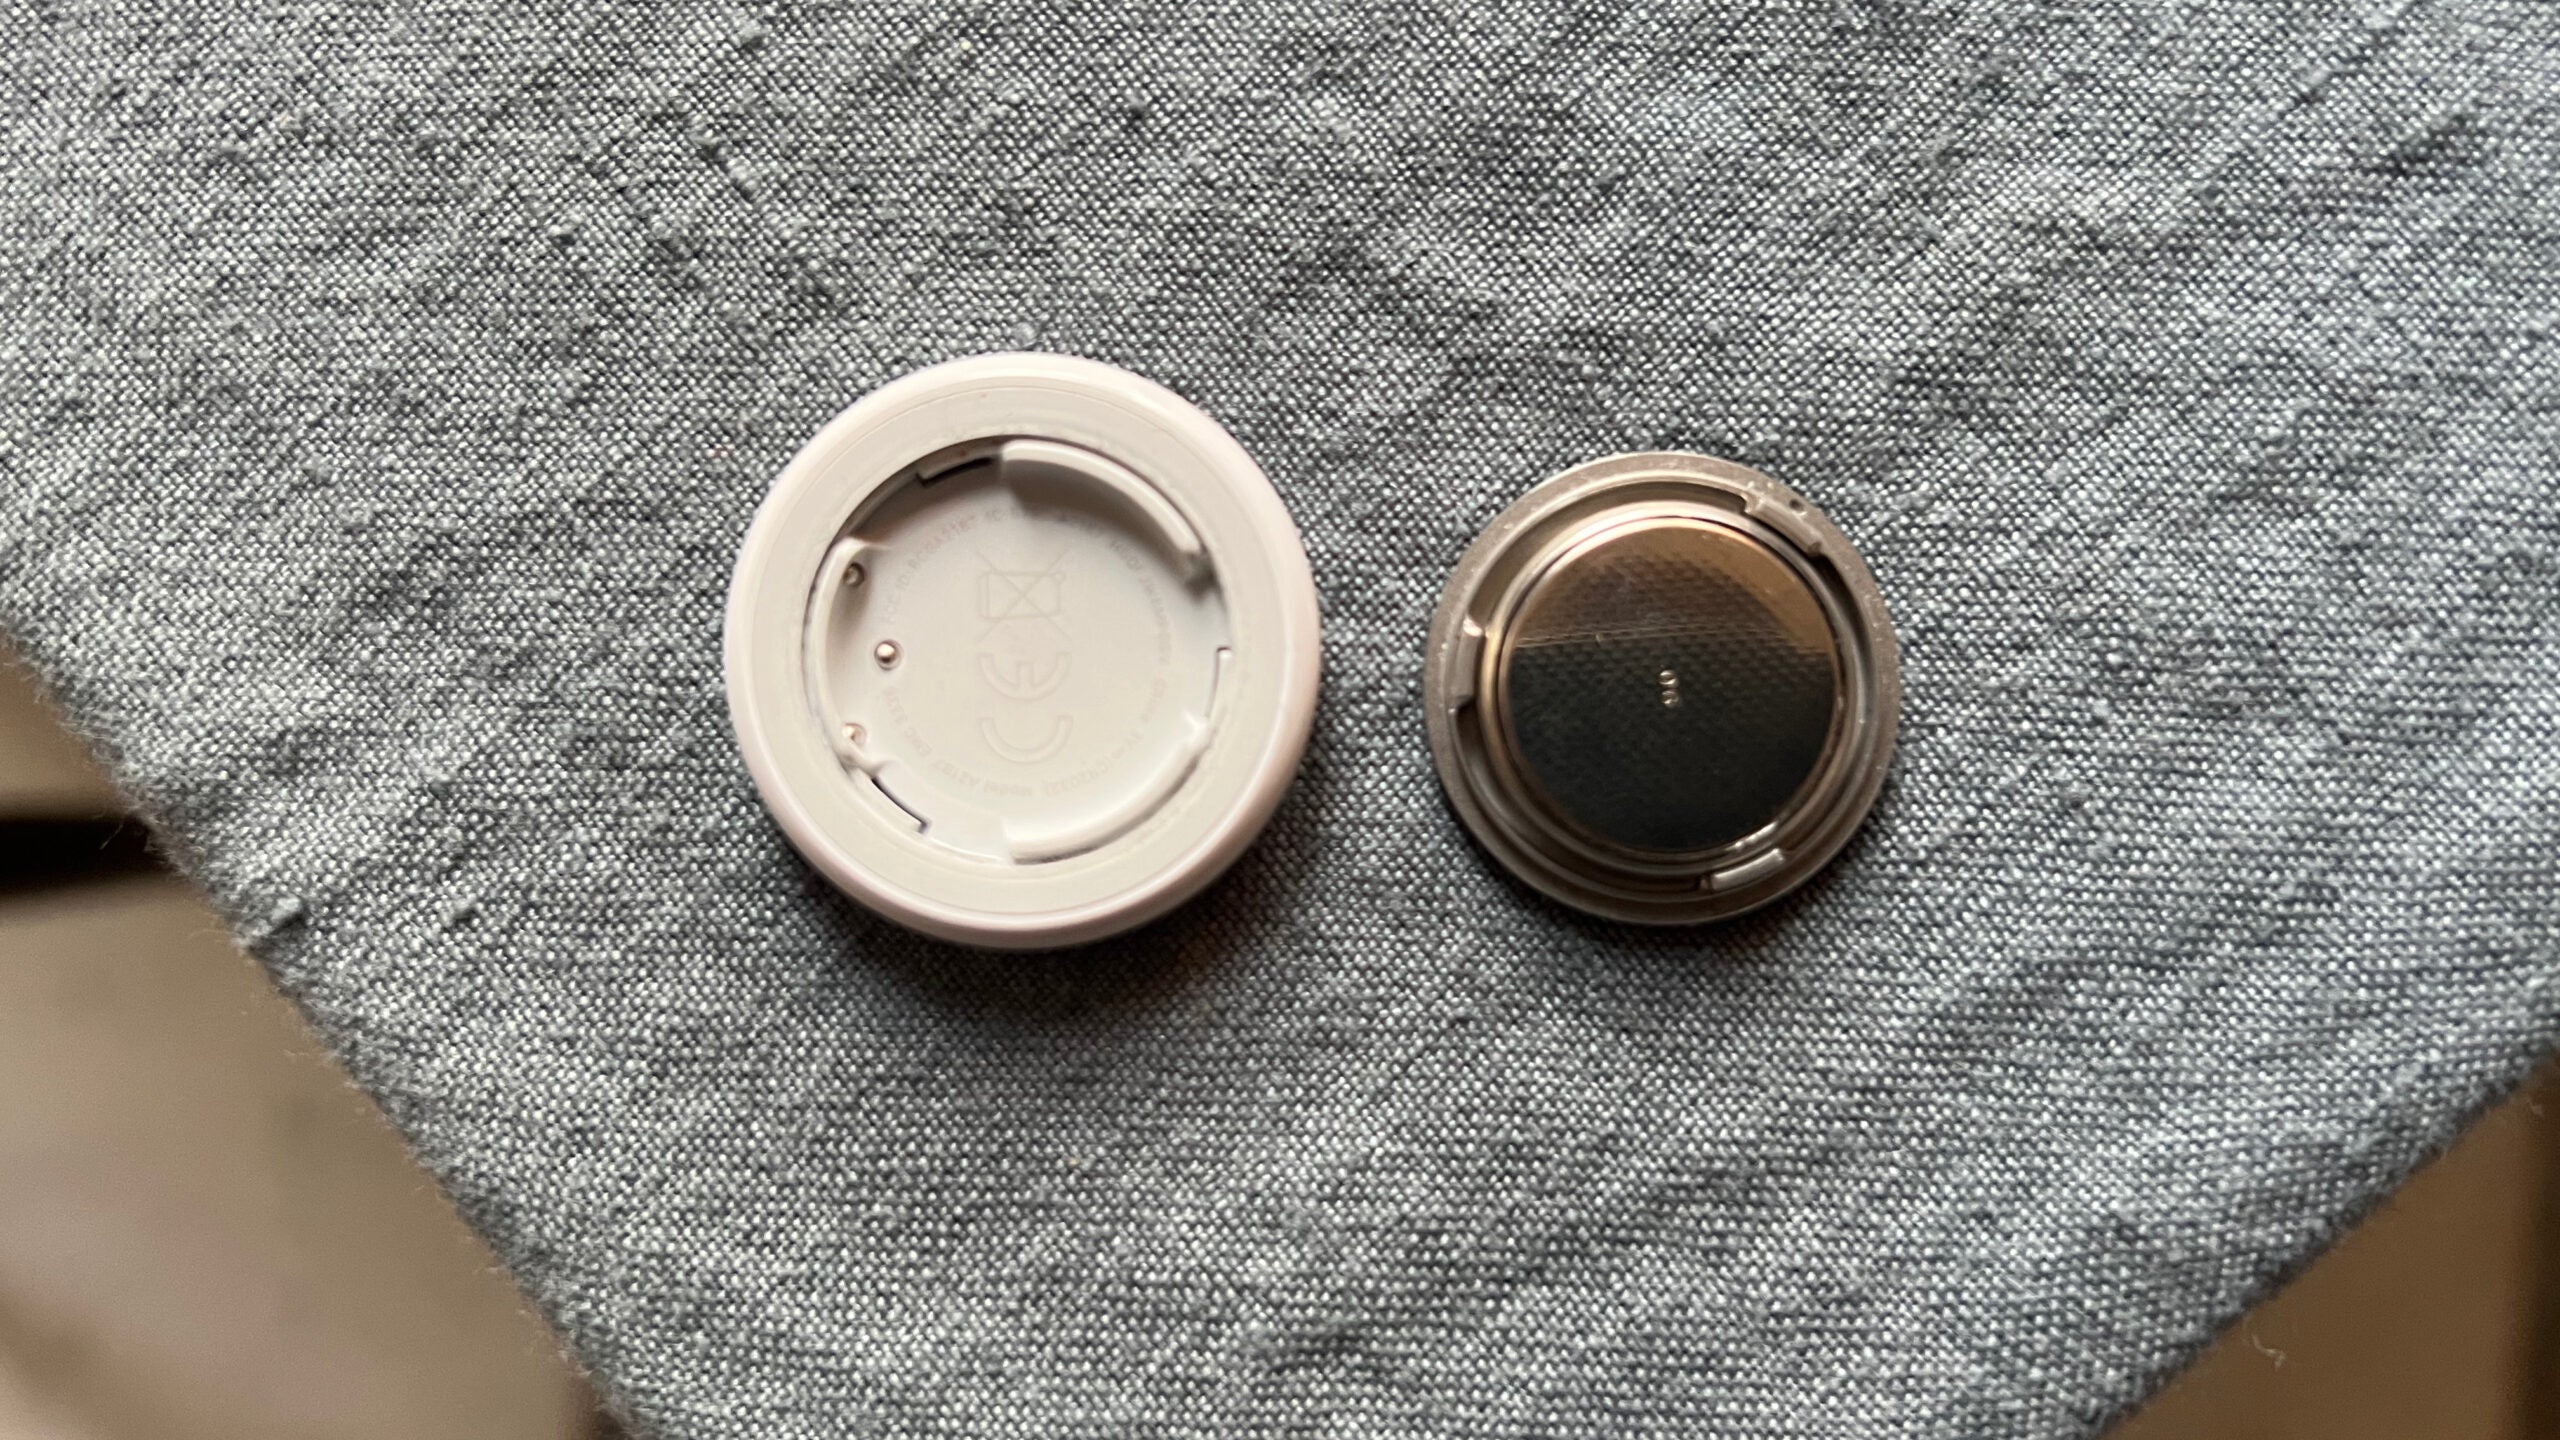
To access to AirTag battery, press down on the silver rear and twist it anticlockwise until it comes away from the plastic front.
Step 3
Take out the old battery
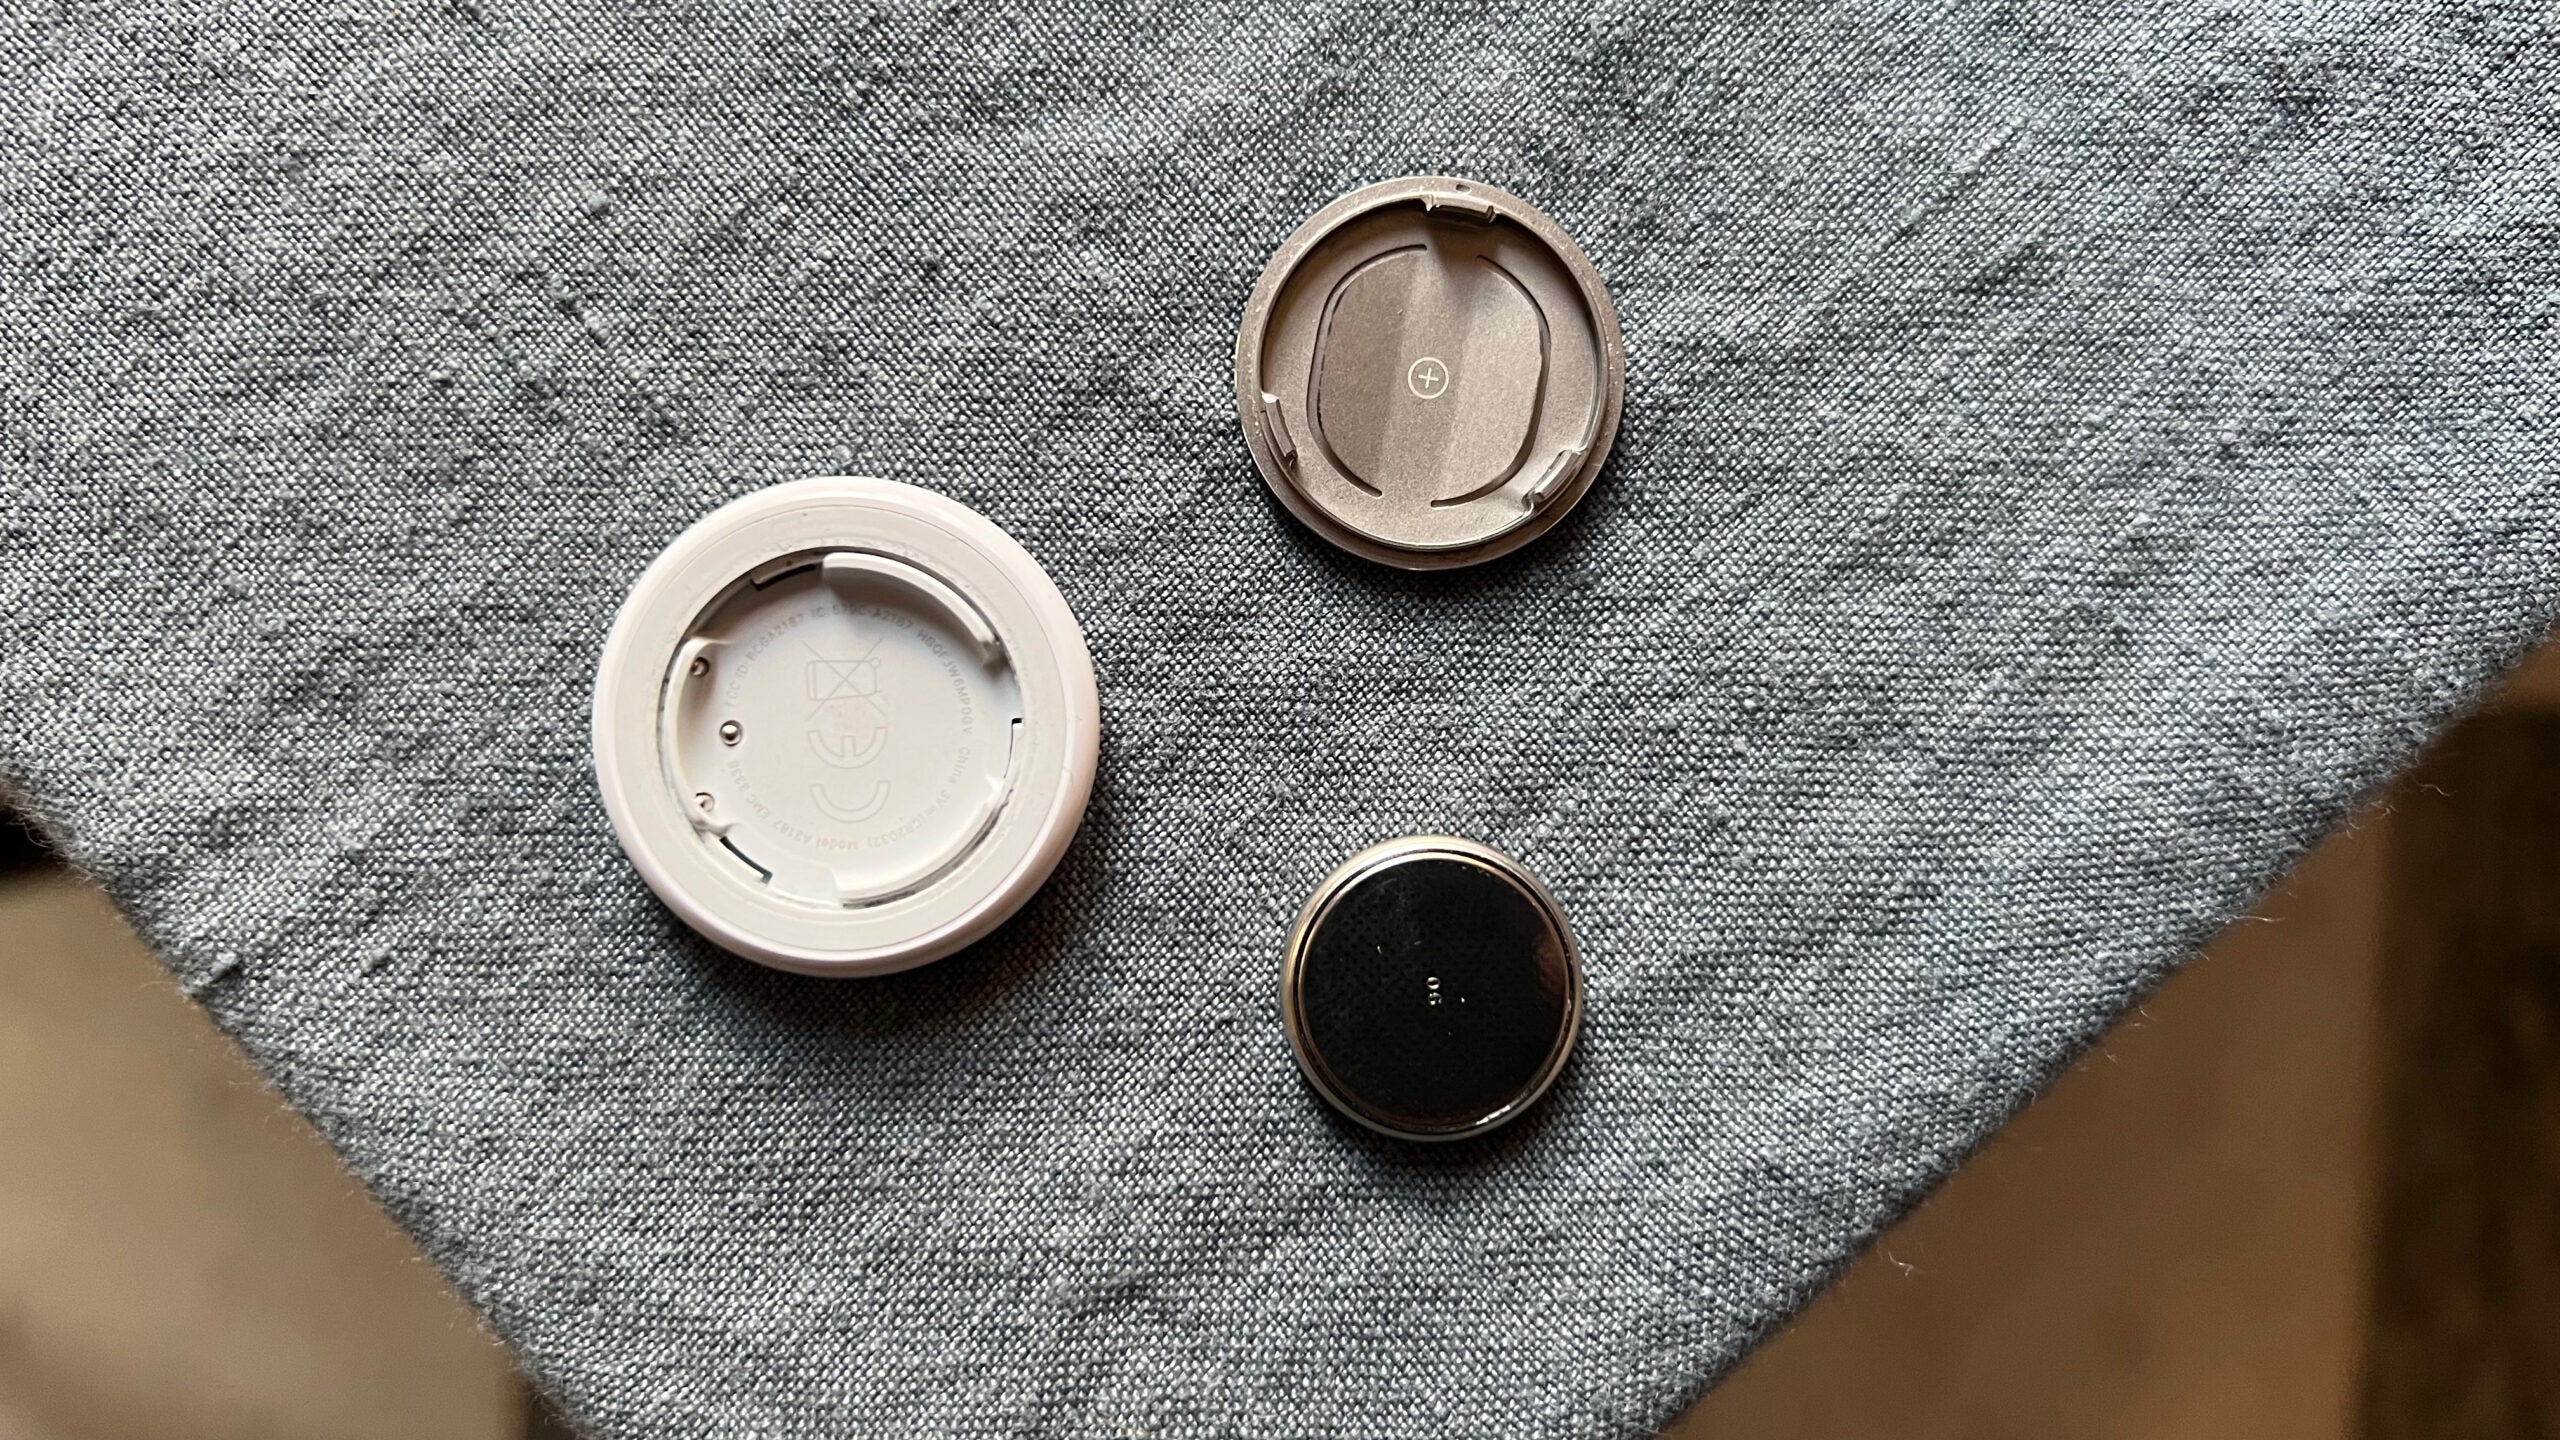
Once the silver rear cover has been removed, take out the old coin cell battery and discard it. This type of battery can be recycled depending on your area.
Step 4
Insert the new battery
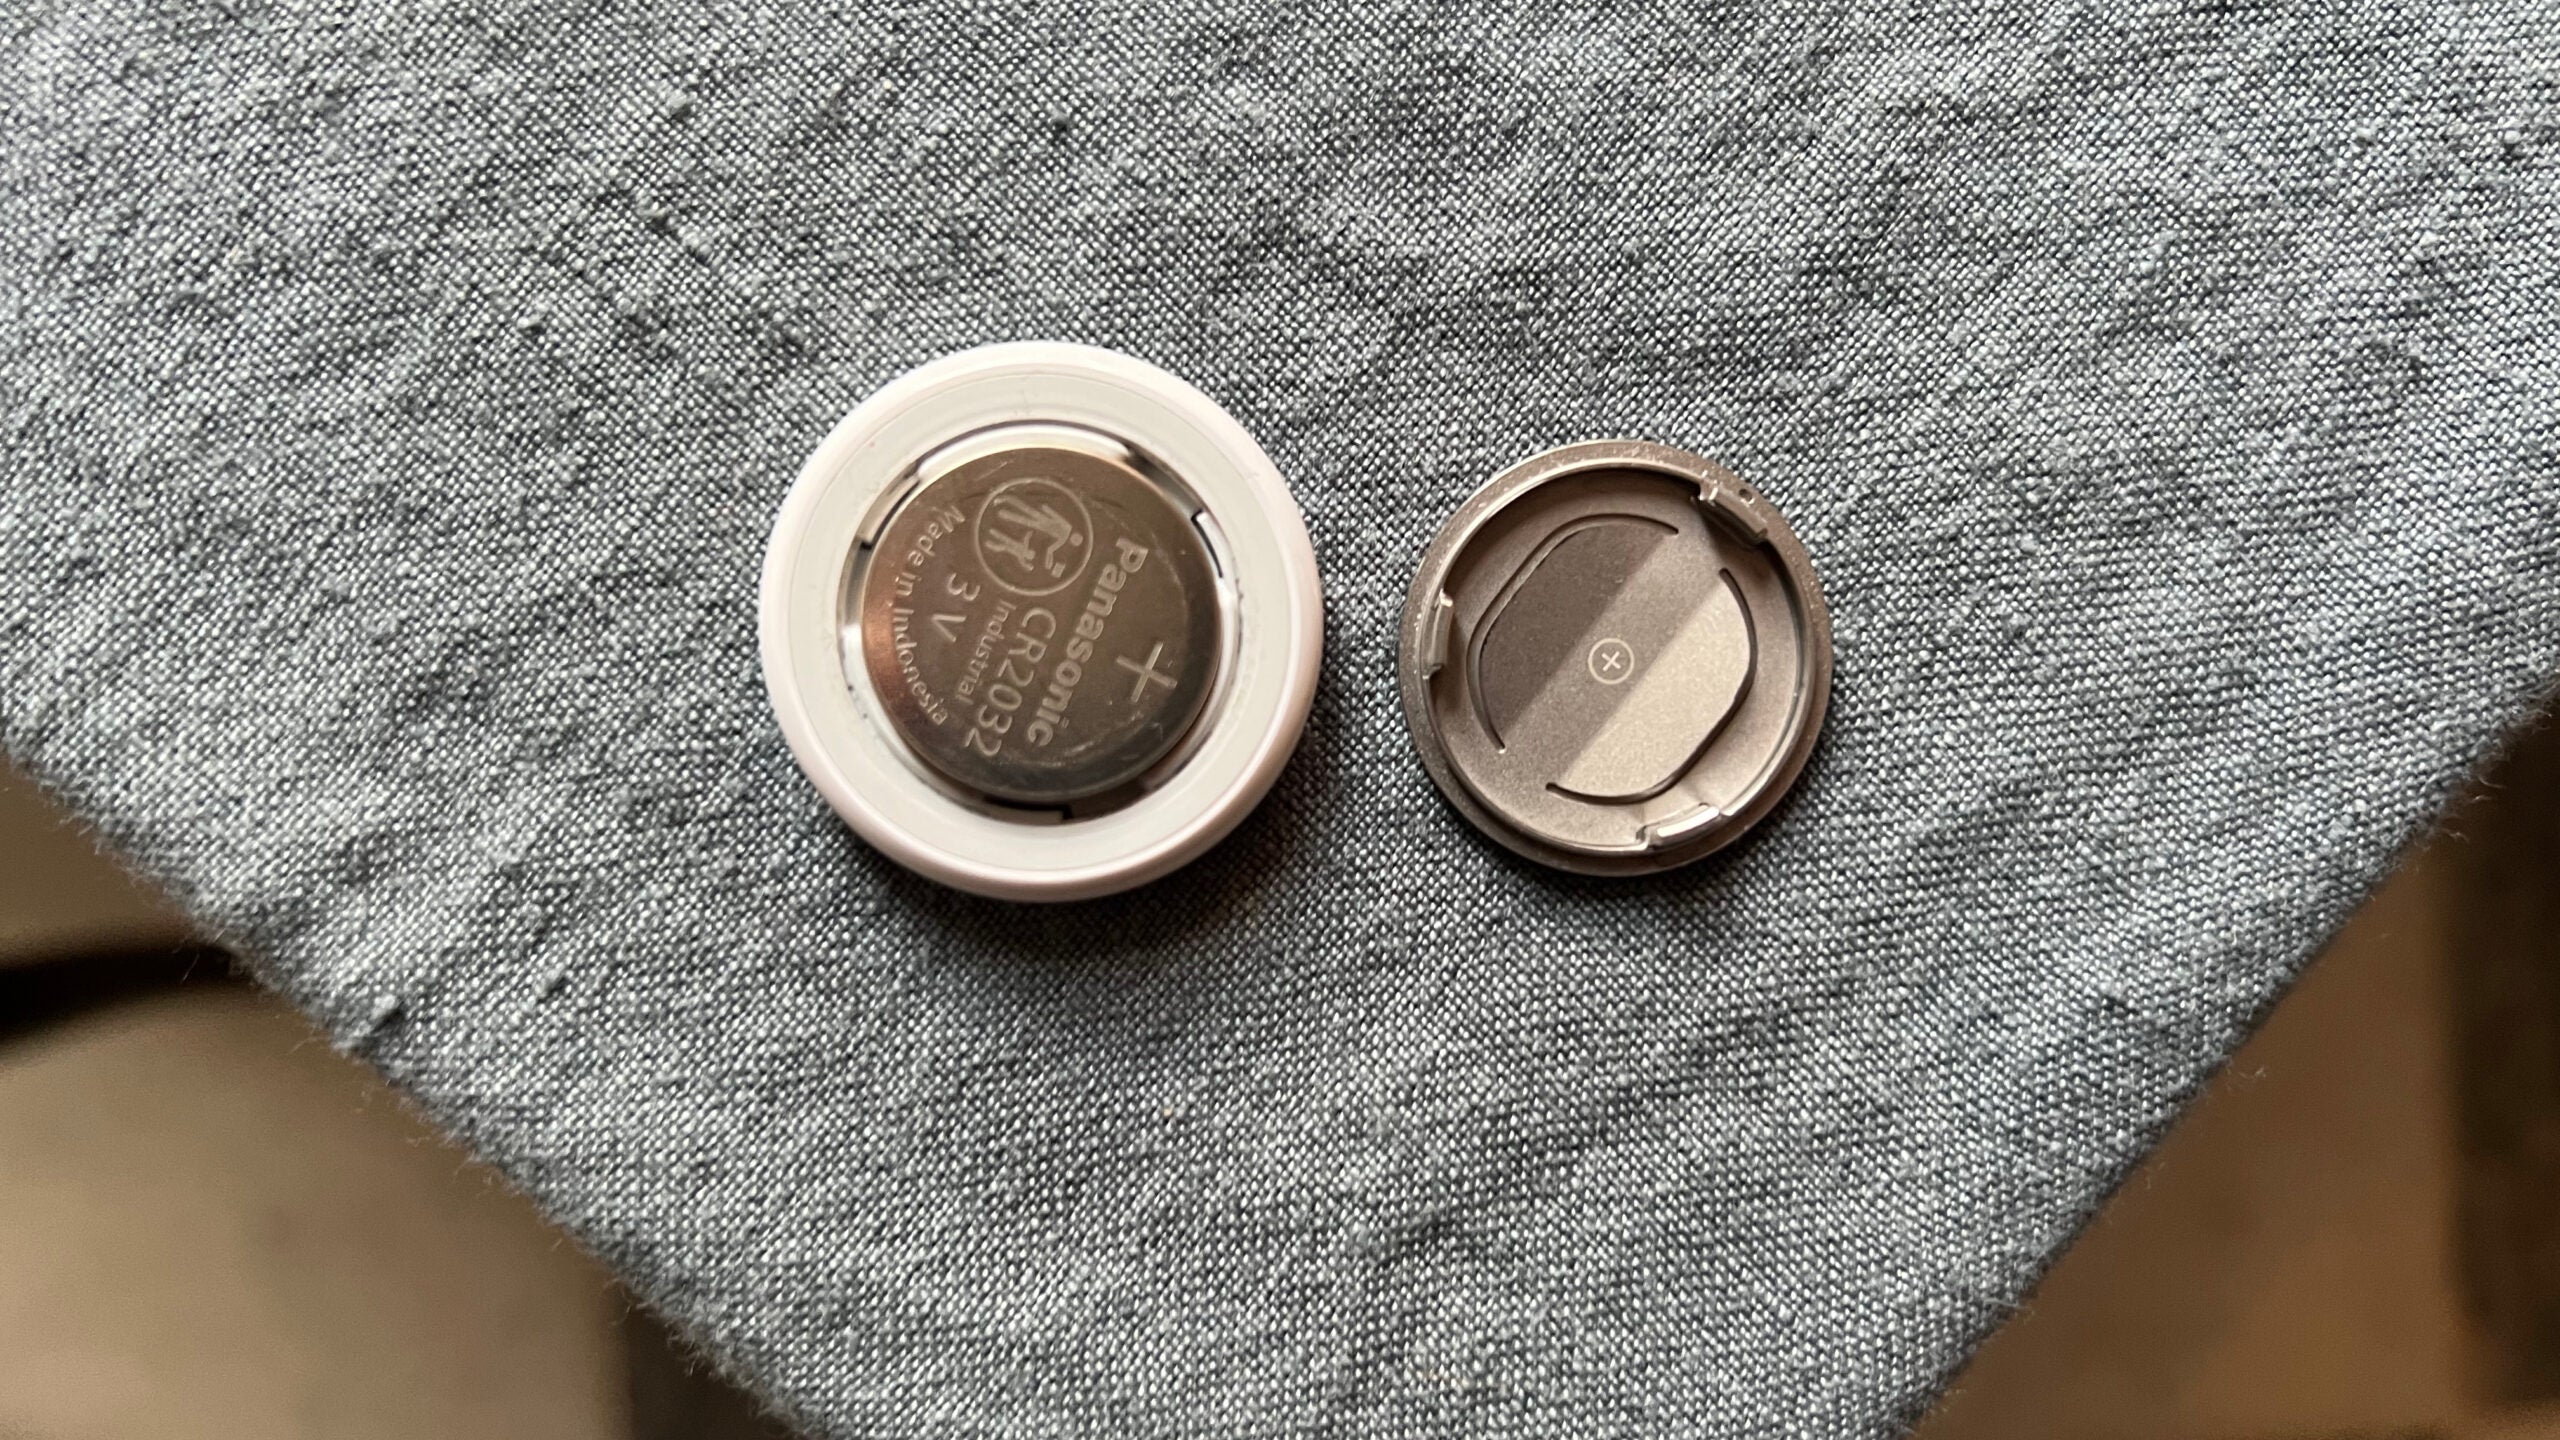
Pop the new battery inside the AirTag (make sure it has the positive side facing up) and ensure it’s properly fitted into the device.
Step 5
Reattach the cover
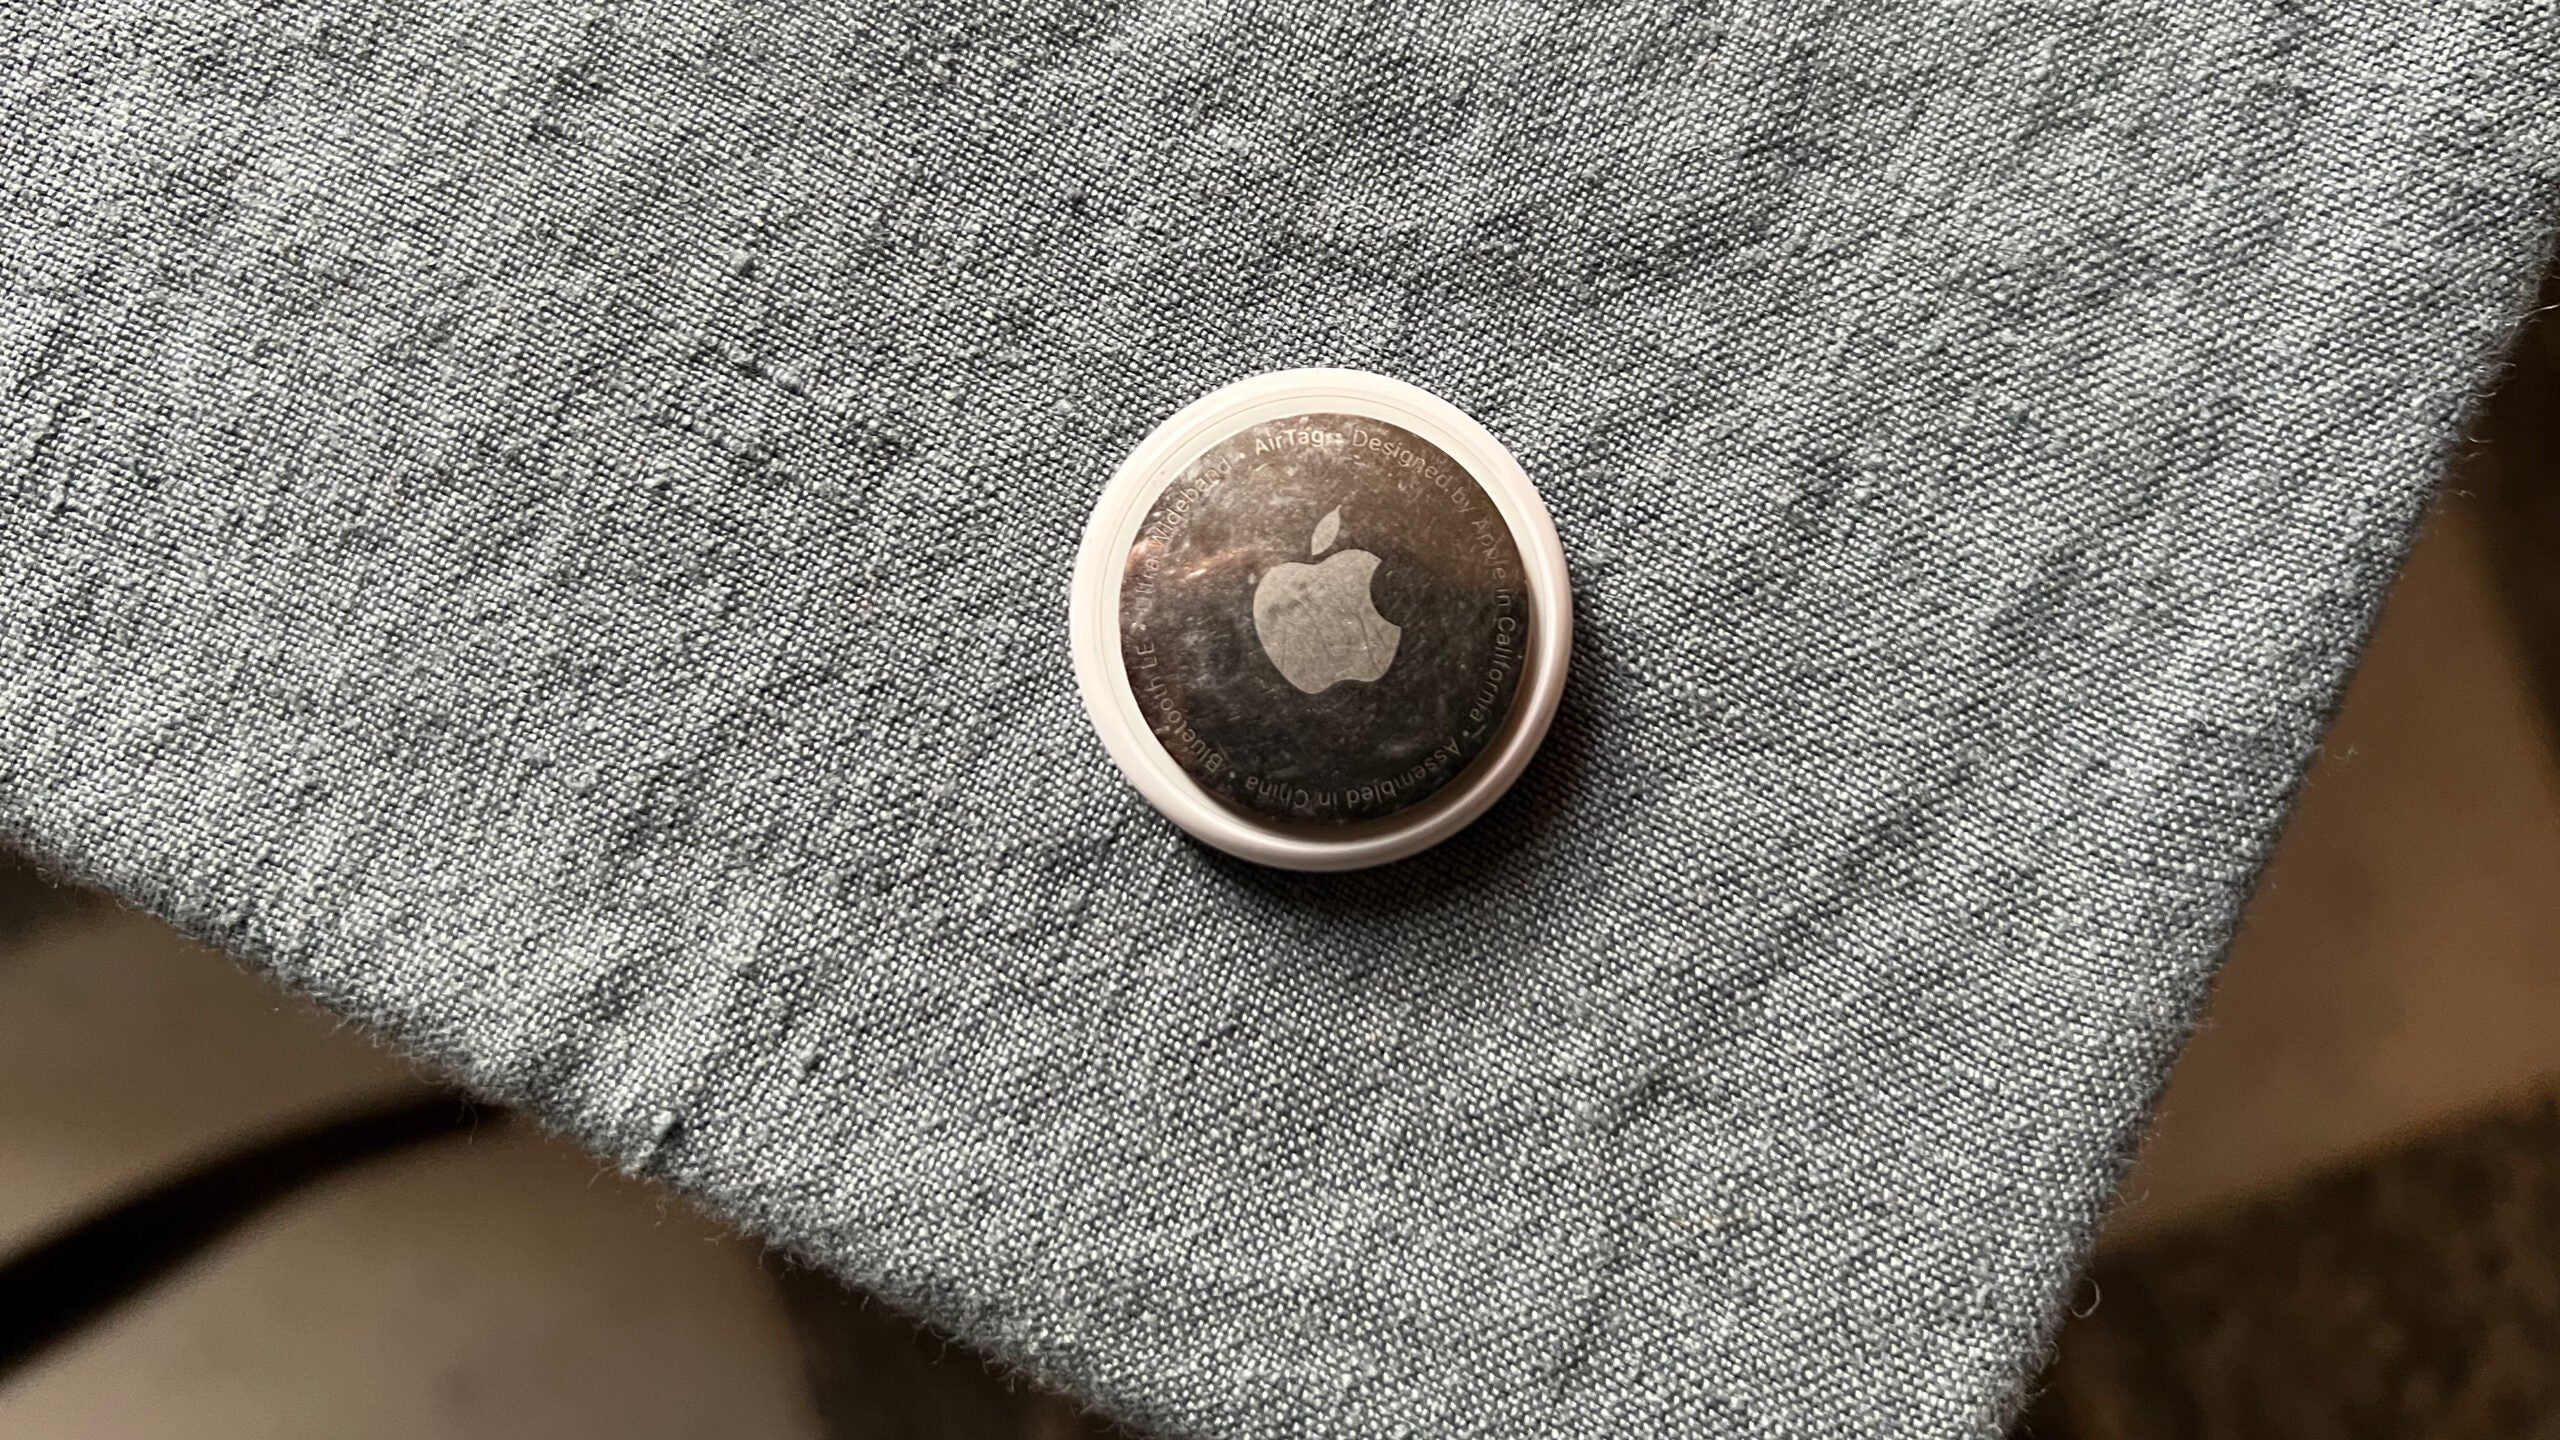
Grab the rear cover and place it back on the AirTag. Push the rear cover down and twist clockwise until you feel resistance and it doesn’t fall off.
Step 6
You’re all finished

The AirTag should power on itself and once again be visible inside the Find My app.